A coat of varnish from the 1980s is not necessarily a reason to replace a solid oak sideboard. In most cases, the wood underneath is in far better condition than the surface suggests — and stripping back to bare timber is the first step to a result that lasts another thirty years.
This guide covers the full sequence used for pieces found in Czech apartments: heavy lacquer or nitrocellulose finishes over oak, beech, and pine, which are the three most common species in mid-century Czech furniture production.
What You Will Need
Before starting, assemble the following. Improvising mid-project wastes time and risks uneven results:
- Gel paint stripper (methylene-chloride-free — available at OBI or Hornbach)
- Natural-bristle brush for applying stripper
- Plastic scraper (metal scrapers scratch softer grain)
- Wire wool 000 grade
- Sandpaper in grits 80, 120, 180, and 240
- Sanding block or random-orbital sander
- Tack cloth
- Grain filler (for open-grain species like oak and ash)
- Wood stain in chosen colour
- Sanding sealer
- Oil-based polyurethane topcoat (satin or matt)
- Nitrile gloves and safety glasses

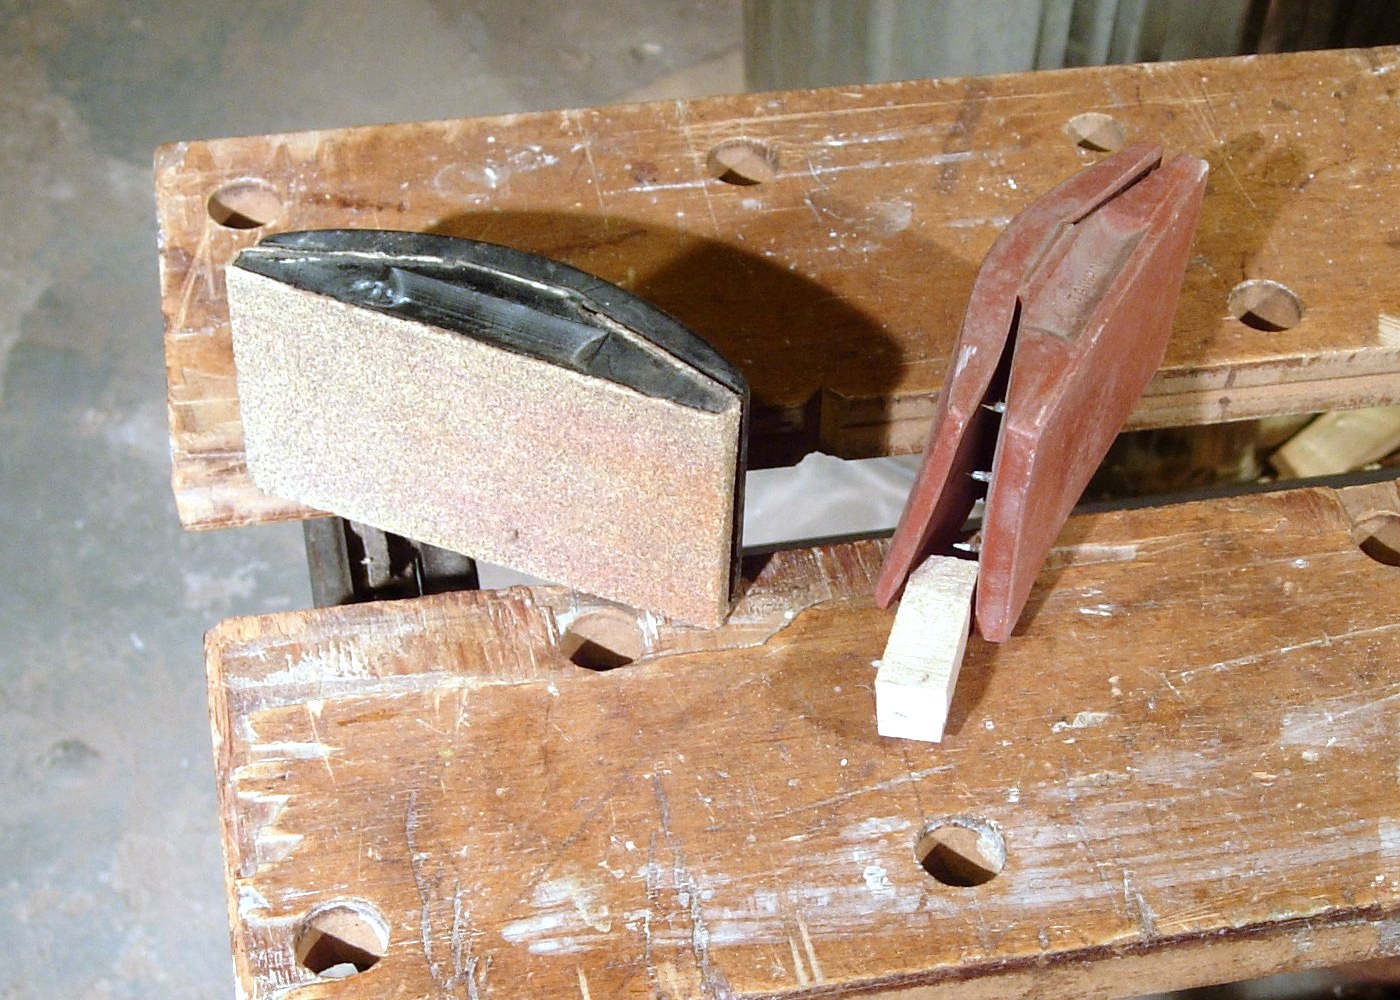
A well-maintained hand plane removes high spots and old filler more cleanly than sanding alone — particularly on flat panel surfaces. Source: Wikimedia Commons, CC BY-SA 4.0
Step 1 — Test the Existing Finish
Wipe a small area with acetone on a cotton pad. If the finish dissolves immediately, it is likely a lacquer or nitrocellulose product. If it softens but does not dissolve, it may be oil-based varnish. If nothing happens, suspect a two-part catalysed finish — which requires mechanical removal only.
This matters because chemical strippers work poorly on catalysed finishes and will simply create a sticky mess without lifting the coating.
Step 2 — Prepare the Workspace
Work outdoors or in a well-ventilated space. Chemical strippers release fumes — even the water-based versions. Cover the floor with newspaper or a drop sheet. Remove any hardware, drawers, and doors before you start; stripping around hinges and handles creates uneven results.
Step 3 — Apply the Stripper
Brush gel stripper generously onto a horizontal surface — work in sections of roughly 30 by 30 cm. Leave it to dwell according to the manufacturer's instructions, typically fifteen to thirty minutes. The finish will blister and lift. Do not let the stripper dry out; if it starts to dry, apply another thin coat rather than scraping early.
Step 4 — Remove the Finish
Use a plastic scraper held at a low angle to lift the softened material. For carved sections or mouldings, use brass-bristle brushes or wooden dowels wrapped in wire wool. Collect the waste material and dispose of it according to local regulations — it is classified as hazardous waste in the Czech Republic.
After the bulk is removed, wipe down with a clean rag dampened in white spirit to neutralise any residual stripper. Allow the wood to dry fully — at least four hours in a warm room.
Step 5 — Sanding
Start with 80-grit to level any residual finish or deep scratches. Move to 120-grit across the grain, then 180-grit with the grain, and finish with 240-grit. Always sand with the grain on the final passes — cross-grain scratches show through any transparent finish.
Between each grit, use a tack cloth to remove all dust. Compressed air can reach corners and mouldings that a cloth cannot.
Step 6 — Grain Filling
Oak, ash, and other open-grain woods have pores that need filling before a smooth topcoat is possible. Apply grain filler across the grain with a coarse rag, working it into the pores. Wipe off the excess along the grain and allow to dry. Sand lightly with 240-grit before continuing.
Closed-grain species like beech, maple, and cherry generally do not need filling.
Step 7 — Staining (Optional)
If the original colour is to be changed, apply a water-based or oil-based stain with a clean rag or foam applicator. Work in sections, wiping off excess before it dries. Water-based stains raise the grain; after drying, sand lightly with 240-grit and a fresh tack cloth before sealing.
Test the stain on a hidden surface — the underside of a shelf or the back of a panel — to confirm the colour before committing to the visible faces.
Step 8 — Sealing and Topcoating
Apply one coat of sanding sealer thinned ten percent with the appropriate solvent. This seals the stain and provides a base for the topcoat. Sand lightly with 320-grit after drying, then tack cloth.
Apply two to three coats of polyurethane with a quality synthetic-bristle brush or foam roller, sanding between coats with 320-grit. The final coat should not be sanded — allow it to cure for forty-eight to seventy-two hours before use.
Common Problems and Fixes
Bleed-through of old stain
If pigment from the original finish bleeds into the new stain, seal the bare wood with a thin shellac wash coat before staining. Shellac acts as a barrier without affecting adhesion of subsequent coats.
Raised grain after water-based products
Water raises timber fibres. Sand with 320-grit between every water-based coat. This is not a sign of a failed product — it is the normal behaviour of all water-based finishes on unsealed wood.
Brush marks in the topcoat
Thin the first topcoat coat by ten percent and apply in long, even strokes. Work in a dust-free environment at room temperature. Cold or hot conditions cause the coating to set too fast for brush marks to level out.
Further Reading
- Wood Magazine — finishing techniques database
- Popular Woodworking — surface preparation guides
- Upcycling Old Furniture in Czech Homes
- Reupholstering Fabric Chairs at Home
Schema information: This article covers furniture restoration techniques for a general audience. It does not constitute professional advice for antiques or heritage pieces requiring specialist conservation.